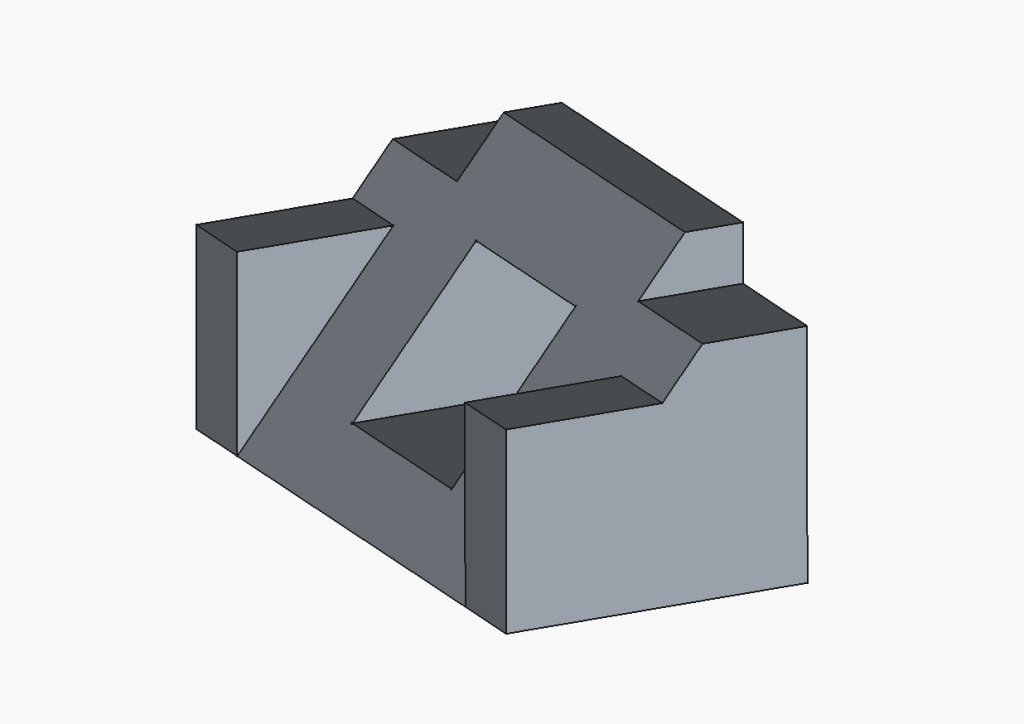
Object 1: I had followed tutorial 017. I struggled with this object as I was still learning how to use FreeCAD, but I felt that this tutorial object helped me create the later objects, as it got me accustomed to the different controls and tools.
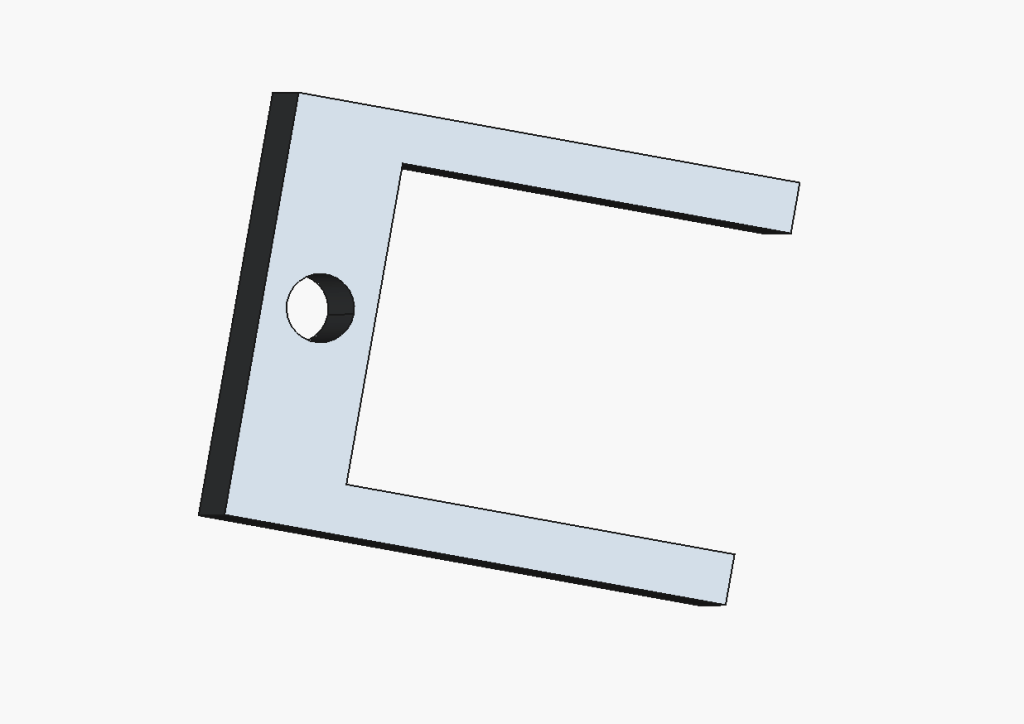
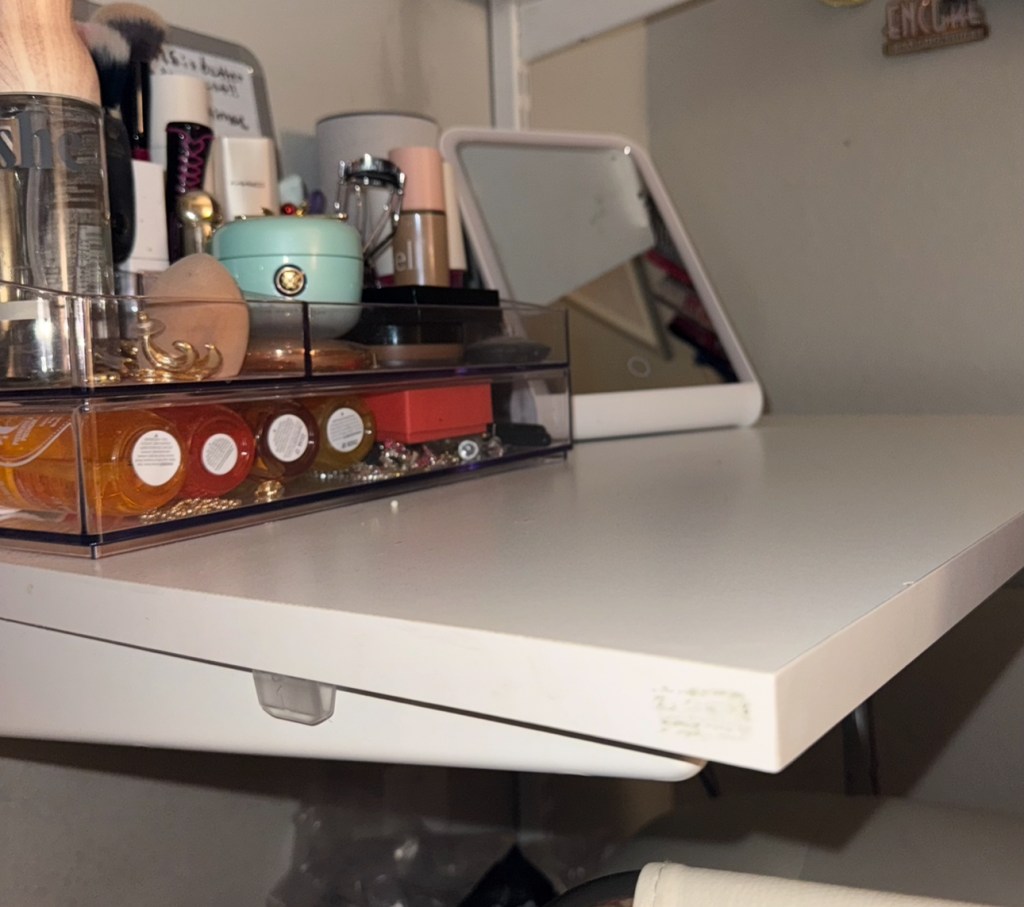
Object 2: To create this object, I had to measure both the thickness of my desk (19mm) and the diameter of my laptop cord (3.2mm) to create a clip that will properly hold my cord without damaging my desk. I also had to measure the distance from the edge of my desk to the metal bars that hold the slate in place (photo 2). I would feed the head of the cord into the hole and then clip the creation onto the left side of my desk, closest to the charging port.
Object 3: I found the creation of these two objects easier than creating Object 2. I feel that while creating Object 2, I became more comfortable with the controls of FreeCAD and was able to more freely create the objects that I had in mind. For these two objects to fit and stay together, I first created Part B, and then used the measurements from the objects’ sides to trace out the hole for Part A. I then added two small pieces on the top and bottom of Part A to secure Part B in place, and also to remain symmetrical, making sure the objects wouldnt fall apart regardless of orientation.
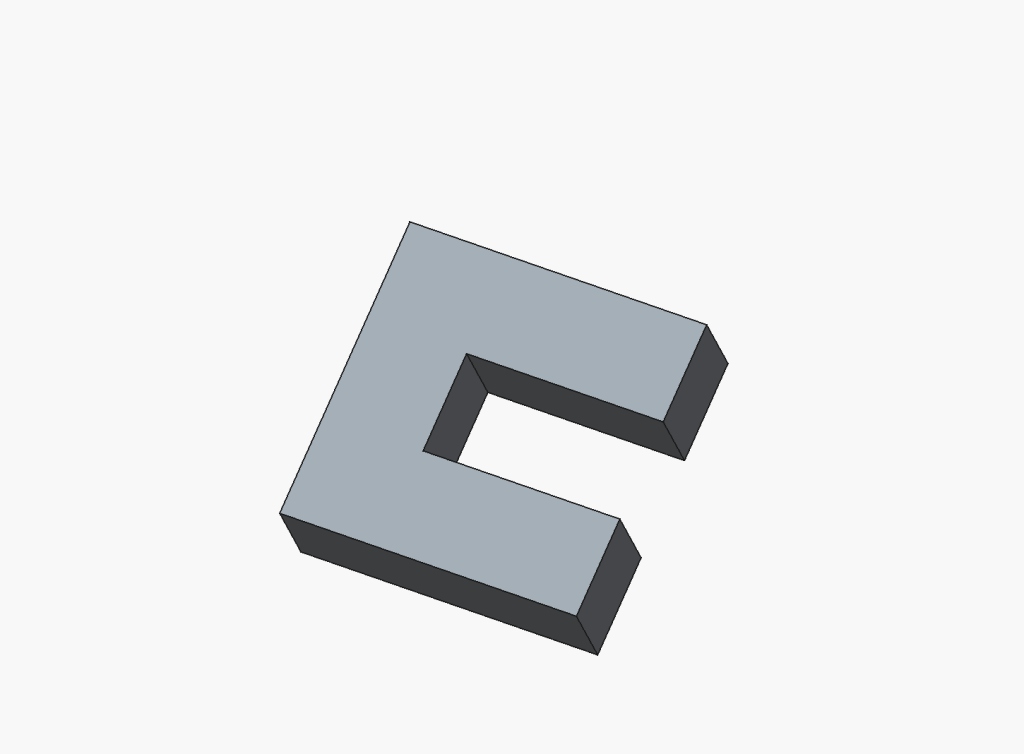
Part A:
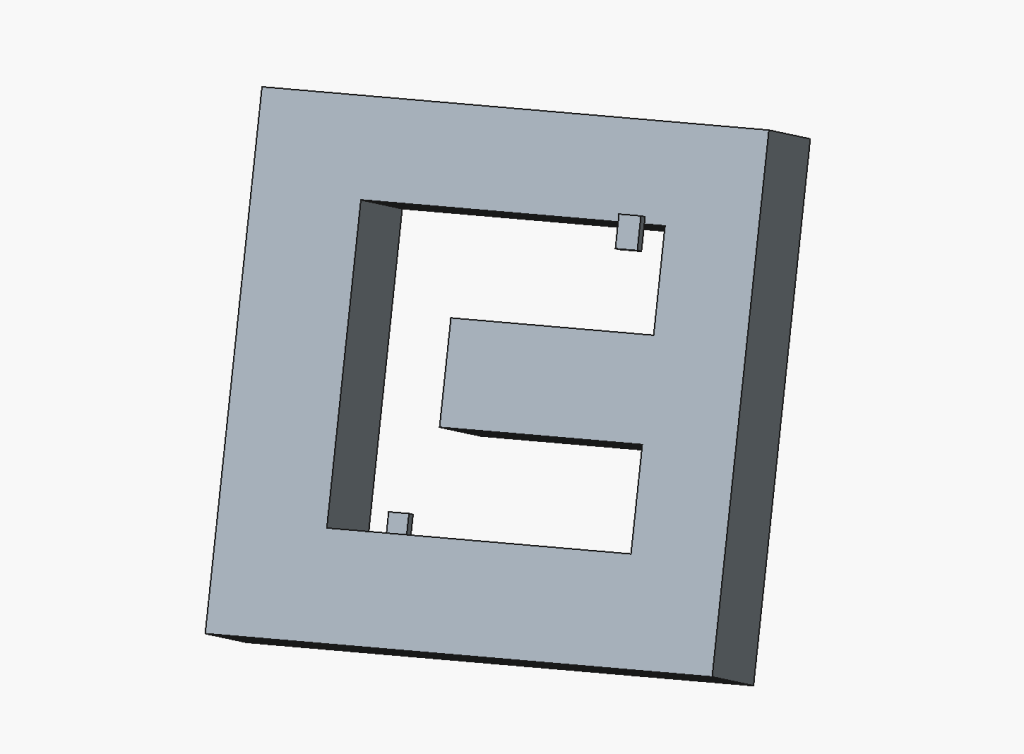
Part B:
I enjoyed the FreeCAD project more than the TinkerCAD project, as it seemed more technical and matter-of-fact. Although my major does not require the skills learned from this application, I am still glad and proud of myself for learning how to utilize it.
